Introduction
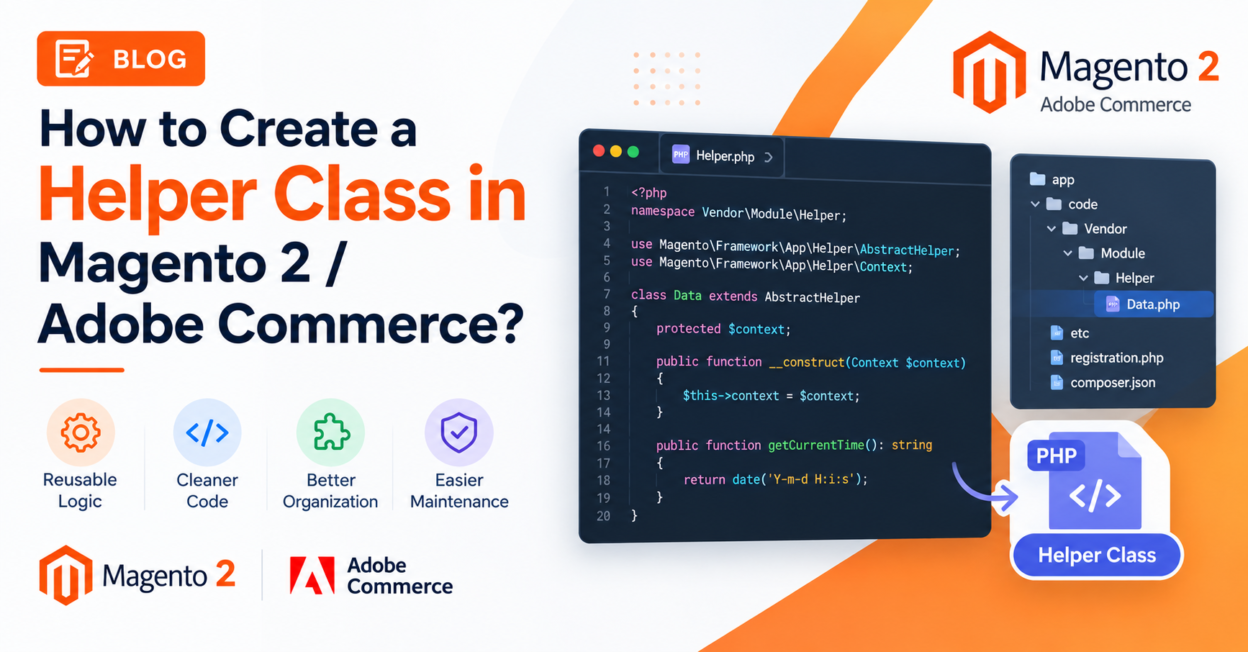
Helper classes are one of the most commonly used building blocks in Magento 2 development. They provide a clean, reusable way to share logic — configuration reads, formatting, calculations, or small utility methods — across blocks, controllers, models, and templates without duplicating code.
In this post, we’ll cover what a Helper class is and exactly how to create one.
What Is a Helper Class in Magento 2?
A Helper class is a PHP class that extends Magento\Framework\App\Helper\AbstractHelper and is registered under a module’s Helper directory. Helpers are automatically available in .phtml templates via the $helper object and can be injected into any other class through Magento’s dependency injection (DI).
Common use cases for Helper classes:
- Reading and returning system configuration values (
core_config_data) - Reusable formatting logic (dates, prices, strings)
- Small utility/business logic shared across multiple classes
- Centralizing logic that would otherwise be duplicated in several blocks or models
Note: Helpers are best suited for lightweight, reusable utility logic — not complex business logic, which usually belongs in a dedicated Service or Model class. Overusing helpers as a dumping ground for unrelated logic is a common anti-pattern in Magento 2 development.
Step 1: Create the Helper Directory and File
Inside your custom module, create a Helper folder and add your helper class:
app/code/Vendor/Module/Helper/Data.phpBy convention, the main/default helper class in a module is named Data.php, though you can create additional helper classes for specific purposes (e.g., Helper/Pricing.php, Helper/Email.php).
Step 2: Extend AbstractHelper
<?php

namespace Vendor\Module\Helper;

use Magento\Framework\App\Helper\AbstractHelper;
use Magento\Framework\App\Helper\Context;
use Magento\Store\Model\ScopeInterface;

class Data extends AbstractHelper
{
    const XML_PATH_ENABLED = 'vendor_module/general/enabled';
    const XML_PATH_GREETING_MESSAGE = 'vendor_module/general/greeting_message';

    /**
     * @param Context $context
     */
    public function __construct(
        Context $context
    ) {
        parent::__construct($context);
    }

    /**
     * Check if the module is enabled via system configuration
     *
     * @param int|null $storeId
     * @return bool
     */
    public function isEnabled($storeId = null): bool
    {
        return $this->scopeConfig->isSetFlag(
            self::XML_PATH_ENABLED,
            ScopeInterface::SCOPE_STORE,
            $storeId
        );
    }

    /**
     * Get the configured greeting message
     *
     * @param int|null $storeId
     * @return string
     */
    public function getGreetingMessage($storeId = null): string
    {
        return (string)$this->scopeConfig->getValue(
            self::XML_PATH_GREETING_MESSAGE,
            ScopeInterface::SCOPE_STORE,
            $storeId
        );
    }

    /**
     * Example reusable formatting logic
     *
     * @param string $text
     * @return string
     */
    public function formatGreeting(string $text): string
    {
        return trim(ucfirst($text)) . '!';
    }
}
A few important points about this class:
- Extending
AbstractHelperautomatically gives you access to$this->scopeConfig(for reading system configuration) and other useful context objects. - Constants like
XML_PATH_ENABLEDshould match thepathattribute defined in your module’ssystem.xmlconfiguration fields. - Helper classes are automatically available as DI-injectable objects — no
di.xmlentry is required for basic use, since Magento’s Object Manager can instantiate them directly (unless you need to override the class via apreference).
Step 3 (Optional): Register the Config Fields in system.xml
If your helper reads configuration values, make sure the corresponding fields exist in app/code/Vendor/Module/etc/adminhtml/system.xml:
<system>
    <section id="vendor_module" translate="label" type="text" sortOrder="100" showInDefault="1" showInWebsite="1" showInStore="1">
        <label>Vendor Module Settings</label>
        <tab>general</tab>
        <resource>Vendor_Module::config</resource>
        <group id="general" translate="label" sortOrder="10" showInDefault="1" showInWebsite="1" showInStore="1">
            <label>General Settings</label>
            <field id="enabled" translate="label" type="select" sortOrder="10" showInDefault="1" showInWebsite="1" showInStore="1">
                <label>Enabled</label>
                <source_model>Magento\Config\Model\Config\Source\Yesno</source_model>
            </field>
            <field id="greeting_message" translate="label" type="text" sortOrder="20" showInDefault="1" showInWebsite="1" showInStore="1">
                <label>Greeting Message</label>
            </field>
        </group>
    </section>
</system>
With this in place, isEnabled() and getGreetingMessage() will correctly read whatever values a merchant sets under Stores > Configuration > Vendor Module Settings in the Admin.
Best Practices When Creating Helper Classes
- Keep helpers focused and lightweight. They should hold reusable utility logic, not complex business workflows — those belong in dedicated Service classes or Models.
- Split large helpers into smaller, purpose-specific ones (e.g.,
Helper/Config.php,Helper/Format.php) instead of one largeData.phpfile that does everything. - Avoid putting data-access logic in helpers. Helpers shouldn’t talk directly to repositories or the database — that responsibility belongs to Models/Repositories.
- Use constants for configuration paths so
system.xmlpaths and helper methods stay in sync and are easy to maintain.
Conclusion
Creating a Helper class in Magento 2 is straightforward: create a class under your module’s Helper directory, extend AbstractHelper, and add the reusable methods you need. In the next post, we’ll cover exactly how to use this Helper class across blocks, templates, controllers, and other classes in your module.