Introduction
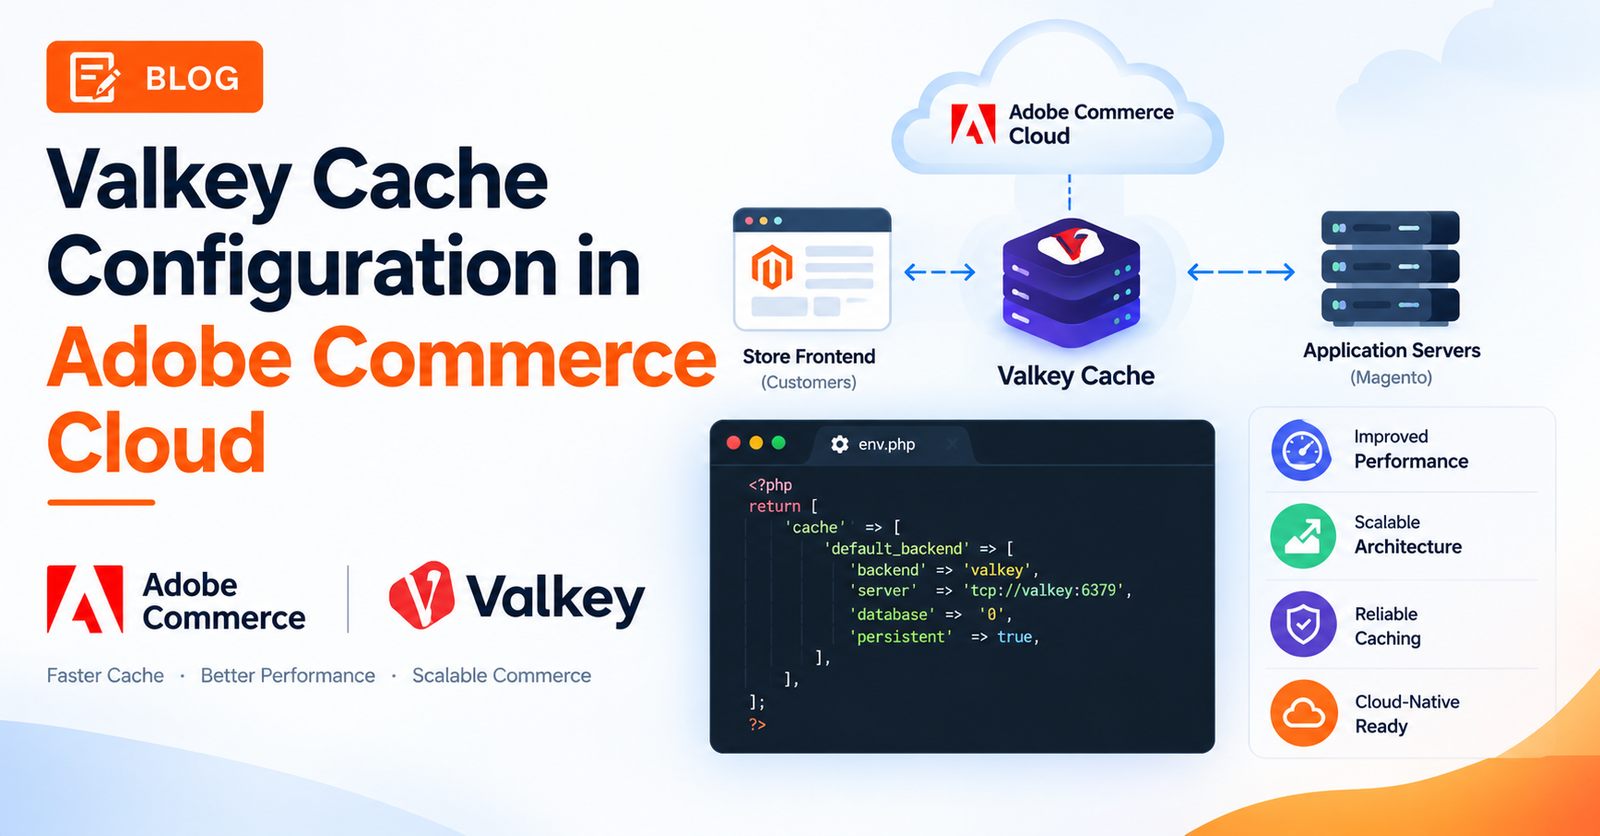
Starting with Adobe Commerce 2.4.9-alpha2, Valkey officially replaced Redis as the recommended in-memory caching backend for Adobe Commerce on Cloud infrastructure — a change driven by Redis’s licensing shift. Valkey is an open-source, Redis-compatible fork, so if you’ve configured Redis for Magento before, the configuration surface will feel very familiar. This tutorial walks through the full configuration of Valkey in Adobe Commerce Cloud: provisioning the service, wiring it into your project configuration, enabling L2 cache, and configuring session storage.
Scope: This guide applies to Adobe Commerce on Cloud infrastructure (PaaS). On-premises projects can also adopt the Valkey cache backend, but configure it via
bin/magento setup:config:setcommands instead of the cloud configuration files covered here.
Why Valkey Instead of Redis?
Valkey is a community-driven, BSD-licensed fork of Redis created after Redis changed its licensing terms. Functionally, it’s a drop-in replacement — the same data structures, the same protocol, and (for Adobe Commerce’s purposes) the same cache backend classes, just renamed (\Magento\Framework\Cache\Backend\Valkey instead of the Redis equivalent). Since Adobe Commerce 2.4.9-alpha2, Valkey has officially replaced Redis in the CLI tooling, and Adobe recommends it for new deployments going forward.
Step 1: Declare the Valkey Service in services.yaml
Your Cloud project’s services are defined in .magento/services.yaml. Add (or confirm) a Valkey service entry:
cache:
    type: valkey:9.0
You can name the service whatever fits your project (commonly cache or valkey), and you can provision multiple Valkey instances — for example, separating cache and session storage:
valkey:
    type: valkey:9.0

valkey-session:
    type: valkey:9.0
Step 2: Wire Up the Relationship in .magento.app.yaml
Once the service is declared, reference it under relationships in .magento.app.yaml so your application container can connect to it:
relationships:
    valkey: "valkey:valkey"
    valkey-session: "valkey-session:valkey"
Note: Provisioning dedicated Valkey instances on Production and Staging environments isn’t self-service — you’ll need to submit an Adobe Commerce support ticket that includes your updated
services.yamland.magento.app.yamlfiles.
Step 3: Configure the Default Cache Backend
With the service declared and the relationship wired up, Adobe Commerce’s ece-tools automatically generates the default cache backend configuration in env.php pointing to your Valkey instance — you don’t need to hand-edit env.php directly on Cloud infrastructure.
If you’re configuring Valkey for an on-premises installation instead, use the CLI directly:
bash
bin/magento setup:config:set --cache-backend=valkey \
  --cache-backend-valkey-server=127.0.0.1 \
  --cache-backend-valkey-db=0
Step 4: Configure L2 Cache with VALKEY_BACKEND
Adobe Commerce’s L2 cache sits in front of Valkey to reduce the number of round trips for frequently-read configuration and layout data. Configure it using the VALKEY_BACKEND deploy variable in .magento.env.yaml.
The correct value depends on your Adobe Commerce version:
For Adobe Commerce 2.4.9 and later (recommended): Symfony L2 cache
stage:
  deploy:
    VALKEY_BACKEND: symfony_l2
Setting VALKEY_BACKEND to symfony_l2 builds the complete L2 cache configuration automatically from your Valkey service details — including a default frontend and a stale_cache_enabled frontend, with cacheable types like layout, block_html, full_page, and translate mapped appropriately.
For Adobe Commerce 2.4.8 and earlier: RemoteSynchronizedCache
stage:
  deploy:
    VALKEY_BACKEND: '\Magento\Framework\Cache\Backend\RemoteSynchronizedCache'
This enables L2 cache using the RemoteSynchronizedCache implementation, and ece-tools generates the corresponding cache configuration automatically. To override specific details, use the CACHE_CONFIGURATION deploy variable instead.
Note:
USE_LUA: truecaused cache corruption and GraphQL cache-miss issues on Adobe Commerce 2.4.7 and 2.4.8. Starting with 2.4.9, rely on the Valkey cache configuration guidance above instead ofUSE_LUAfor new deployments.
Fine-Tuning Connection Reliability with CACHE_CONFIGURATION
Beyond just picking a backend, CACHE_CONFIGURATION lets you tune how resilient the Valkey connection is — particularly useful on higher-traffic projects where brief network blips shouldn’t cause cache errors. A few commonly used options:
stage:
  deploy:
    CACHE_CONFIGURATION:
      _merge: true
      frontend:
        default:
          id_prefix: '001_'
          backend_options:
            connect_retries: 3
            remote_backend_options:
              read_timeout: 10
              retry_reads_on_master: 1
_merge: true— tellsece-toolsto merge your overrides into the cache configuration it generates automatically, rather than replacing it outright. Omit this and you risk silently discarding settingsece-toolswould otherwise have configured for you.id_prefix— namespaces cache keys in Valkey. Useful when multiple environments or projects share the same Valkey instance, or simply to make keys easier to identify during debugging. Any consistent string works — just don’t change it after the fact without expecting a full cache rebuild.connect_retries— how many times Adobe Commerce retries a dropped connection to Valkey before failing the request.remote_backend_options.read_timeout— how long (in seconds) to wait on a read before timing out.retry_reads_on_master— when using a slave/replica connection (see Step 7), this controls whether a failed read retries against the primary instance.
Step 5: Enable Stale Cache (Optional)
Enabling stale cache lets Adobe Commerce continue serving slightly outdated cached content while it regenerates fresh content in the background — useful for reducing load spikes after a cache invalidation. Define it per cache type in .magento.env.yaml:
stage:
  deploy:
    VALKEY_BACKEND: symfony_l2
    CACHE_CONFIGURATION:
      frontend:
        stale_cache_enabled:
          backend: '\Magento\Framework\Cache\Backend\RemoteSynchronizedCache'
          backend_options:
            remote_backend: '\Magento\Framework\Cache\Backend\Valkey'
Step 6: Configure Session Storage with Valkey
Session storage can use the same Valkey instance or a dedicated one. On Cloud infrastructure, if you provisioned a separate valkey-session service (Step 1–2), it will be used automatically for sessions unless overridden by SESSION_CONFIGURATION.
Important: SESSION_CONFIGURATION still uses the redis key
This trips a lot of people up: even when your session backend is Valkey, the SESSION_CONFIGURATION block in .magento.env.yaml keeps redis as the key name. This is intentional — Valkey is wire-compatible with the Redis protocol, and Adobe’s own guidance explicitly says to keep the redis key even when you’re using Valkey. Don’t rename it to valkey, or your overrides won’t apply.
stage:
  deploy:
    SESSION_CONFIGURATION:
      _merge: true
      redis:
        timeout: 5
        disable_locking: 1
        bot_first_lifetime: 60
        bot_lifetime: 7200
        max_lifetime: 2592000
        min_lifetime: 60
A few of these are worth calling out:
disable_locking— set to1for maximum performance by skipping Magento’s session locking entirely. Only do this if you’re not seeing race conditions from concurrent session writes; if you are (e.g., many simultaneous AJAX requests per customer session), leave it at0.timeout— connection timeout in seconds;portis usually auto-detected byece-toolsfrom your service relationship, so you typically don’t need to set it explicitly unless detection fails.bot_first_lifetime/bot_lifetime— shorter session lifetimes specifically for bot traffic, so crawler sessions don’t linger and consume memory unnecessarily.max_lifetime/min_lifetime— the upper and lower bounds for how long a regular customer session is kept.
On-Premises: Configure Session Storage via CLI
For on-premises installations, configure session storage explicitly via the CLI instead:
bash
bin/magento setup:config:set --session-save=valkey \
  --session-save-valkey-host=127.0.0.1 \
  --session-save-valkey-db=2 \
  --session-save-valkey-log-level=4
Commonly used session parameters include session-save-valkey-host, -port, -password, -timeout, -db, -compression-threshold, and -disable-locking (useful for high-concurrency storefronts where session locking causes contention).
Step 7: Enable a Replica (Slave) Connection for Read Scaling
If your Valkey service topology includes replicas, enable a slave connection in .magento.env.yaml so one node handles write traffic while others absorb read traffic:
stage:
  deploy:
    VALKEY_USE_SLAVE_CONNECTION: true
If Adobe Commerce can’t read from the Valkey replica for any reason, it automatically falls back to reading from the primary instance.
Step 8: Tune L2 Cache Memory Sizing
To prevent memory exhaustion, Adobe Commerce clears L2 cache storage once it reaches a configured threshold. Adjust this via cleanup_percentage (available since Adobe Commerce 2.4.4) under the cache configuration group:
stage:
  deploy:
    CACHE_CONFIGURATION:
      frontend:
        default:
          backend_options:
            cleanup_percentage: 90
Step 9: Deploy and Verify
Commit your services.yaml, .magento.app.yaml, and .magento.env.yaml changes and push/deploy as usual. During deployment, ece-tools validates the Valkey configuration — if the server or port is missing, you’ll see a deployment error indicating incorrect cache configuration, so double-check your relationships and service names if that happens.
After deployment, verify the connection by checking your deployment logs for a line confirming which Valkey service is being used for cache and session, or by connecting directly to the Valkey instance (where SSH access is available) using a Redis-protocol-compatible CLI client.
Putting It All Together: A Production-Ready Example
Here’s how the pieces from this guide typically look combined in a real .magento.env.yaml deploy stage — a replica connection for read scaling, RemoteSynchronizedCache for L2, connection-reliability tuning, and session configuration with the redis key intact:
stage:
  deploy:
    VALKEY_USE_SLAVE_CONNECTION: true
    VALKEY_BACKEND: '\Magento\Framework\Cache\Backend\RemoteSynchronizedCache'
    CACHE_CONFIGURATION:
      _merge: true
      frontend:
        default:
          id_prefix: '001_'
          backend_options:
            connect_retries: 3
            remote_backend_options:
              read_timeout: 10
              retry_reads_on_master: 1
    SESSION_CONFIGURATION:
      _merge: true
      redis:
        timeout: 5
        disable_locking: 1
        bot_first_lifetime: 60
        bot_lifetime: 7200
        max_lifetime: 2592000
        min_lifetime: 60
A few things worth noting about this combination:
- Using
RemoteSynchronizedCachehere (rather thansymfony_l2) indicates a project running Adobe Commerce 2.4.8 or earlier — confirm your version before copying this pattern, since 2.4.9+ projects should prefersymfony_l2. - Both
CACHE_CONFIGURATIONandSESSION_CONFIGURATIONuse_merge: true, which is the safer default — it layers your overrides on top of whatece-toolsgenerates automatically instead of replacing it. disable_locking: 1is a deliberate performance tradeoff — appropriate for high-traffic storefronts that can tolerate the small risk of session race conditions in exchange for reduced lock contention.
Troubleshooting Common Valkey Issues
- “Incorrect cache configuration (missing port or host)” — Your cache configuration is missing a required
serverorportparameter. Double-check yourservices.yamlrelationships and any manualCACHE_CONFIGURATIONoverrides. - “Failed to clean the Valkey cache” — Usually means the Valkey service isn’t reachable during the pre-deploy cache-clean step. Confirm the service is provisioned and the relationship name matches what’s referenced in your deploy configuration.
- “Cache is configured for a Valkey service that is not available” — A warning indicating a mismatch between your declared relationships and the actual running service; verify naming consistency across
services.yamland.magento.app.yaml.
Best Practices
- Use
symfony_l2forVALKEY_BACKENDon Adobe Commerce 2.4.9+; it’s the modern, PSR-6-compliant implementation and is actively recommended overRemoteSynchronizedCache. - Separate cache and session Valkey instances on high-traffic stores to avoid one workload (e.g., a cache flush) impacting session availability.
- Enable slave/replica connections to distribute read traffic once your Valkey topology supports it.
- Adjust
cleanup_percentageproactively rather than reactively — memory exhaustion under load is a common cause of unexpected cache clears on high-traffic stores. - Avoid
USE_LUAon new deployments; follow the Valkey-specific guidance in this post instead. - Always use
_merge: trueinCACHE_CONFIGURATIONandSESSION_CONFIGURATIONunless you deliberately want to replace the auto-generated configuration entirely. - Remember that
SESSION_CONFIGURATIONkeeps therediskey name even on a Valkey backend — this is the single most common copy-paste mistake when migrating a Redis config to Valkey.
Related Reading
- Related guide: How to Clear Fastly Cache in Adobe Commerce — another Cloud infrastructure caching layer worth understanding alongside Valkey, since Fastly and Valkey serve different caching purposes (edge/CDN vs. application-level).
- Official reference: Adobe’s Best Practices for Valkey Service Configuration covers additional tuning options, including preload keys and dedicated session instance provisioning.
Conclusion
Configuring Valkey in Adobe Commerce Cloud comes down to three layers: declaring the service in services.yaml, wiring the relationship in .magento.app.yaml, and tuning behavior through deploy variables like VALKEY_BACKEND, VALKEY_USE_SLAVE_CONNECTION, and cleanup_percentage in .magento.env.yaml. Get those three files right, and Adobe Commerce handles the rest — giving you a modern, actively maintained, Redis-compatible caching layer without the licensing concerns of recent Redis releases.