Introduction
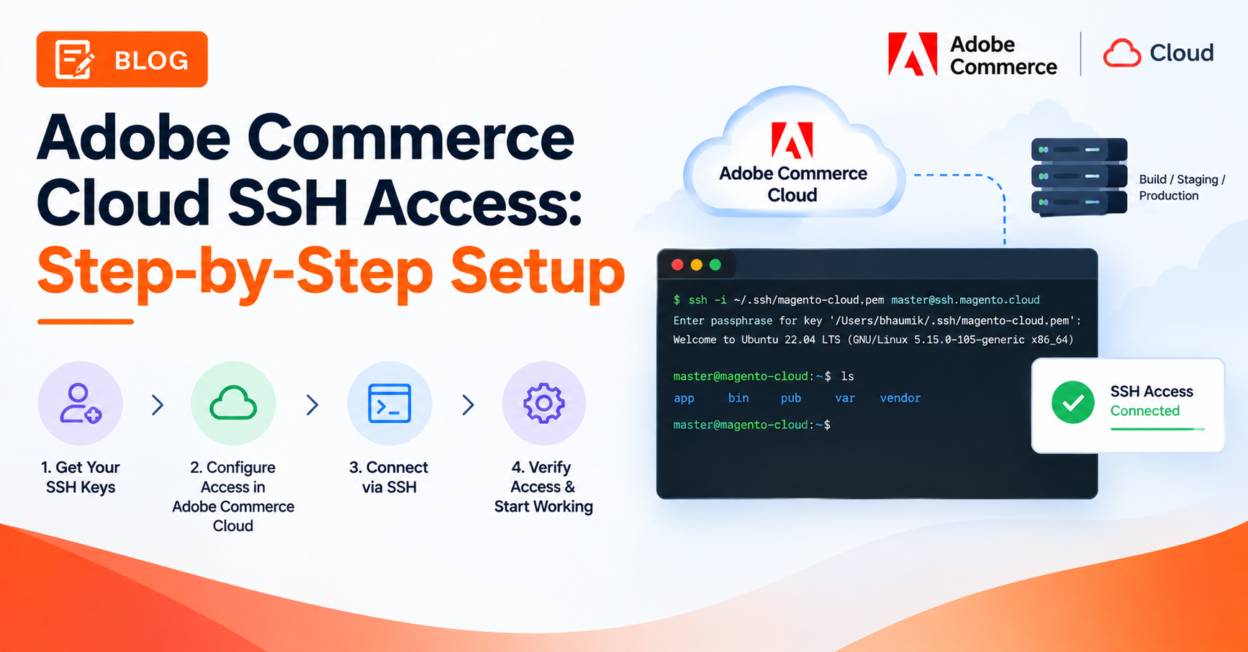
SSH access is how developers interact directly with Adobe Commerce Cloud environments — running CLI commands, checking logs, debugging deployments, and managing Git-based environments. This tutorial walks through the complete setup: installing the Cloud CLI, generating and registering an SSH key, connecting to an environment, and handling multi-factor authentication (MFA) if your project requires it.
Scope: This guide applies to Adobe Commerce on Cloud infrastructure (PaaS) projects. On-premises installations use standard server SSH access configured by your hosting provider, not the Cloud-specific workflow covered here.
Prerequisites
- An Adobe Commerce on Cloud infrastructure account with access to the project you want to connect to.
- A local machine with
curland PHP available (needed for the Cloud CLI installer). - Basic familiarity with the command line and SSH concepts.
Step 1: Install the Magento Cloud CLI
The magento-cloud CLI is Adobe’s official command-line tool for managing Cloud projects and environments from your local workstation. It cannot be installed on the Cloud environments themselves — only on your local machine.
bash
curl -sS https://accounts.magento.cloud/cli/installer | phpThis installs the CLI to ~/.magento-cloud/bin/. Add it to your shell profile so the magento-cloud command is available in new terminal sessions:
bash
export PATH=$PATH:$HOME/.magento-cloud/binAdd that line to ~/.bashrc, ~/.zshrc, or your shell’s equivalent profile file, then reload it:
bash
source ~/.bashrcVerify the installation:
bash
magento-cloud listIf you see a list of available commands, the CLI is installed correctly.
Step 2: Generate an SSH Key Pair
Create an SSH key pair on every machine or workspace that needs access to your project’s source code and environments:
bash
ssh-keygen -t rsa -b 4096Accept the default file location (~/.ssh/id_rsa) unless you have a specific reason to use a different path or filename, and set a passphrase if your security policy requires one. This generates two files:
~/.ssh/id_rsa— your private key. Never share this, upload it anywhere, or commit it to a repository.~/.ssh/id_rsa.pub— your public key. This is what you register with your Cloud account.
Step 3: Add Your Public SSH Key to Your Cloud Account
You can register your public key either through the Cloud CLI or the Cloud Console.
Option A: Add Your SSH Key Using the Cloud CLI
bash
magento-cloud ssh-key:add ~/.ssh/id_rsa.pubYou can review or remove registered keys at any time:
bash
magento-cloud ssh-key:list
magento-cloud ssh-key:delete
Option B: Add Your SSH Key Using the Cloud Console
- To add a key to a new project: during project setup, when prompted for an SSH key, click No SSH key if you haven’t generated one yet, or paste your public key directly if you have.
- To add a key to your existing Cloud profile: go to the SSH keys view in your account settings, click Add public key, give it a descriptive Title (e.g.,
laptop-2026), and paste the contents of yourid_rsa.pubfile into the Key field.
Tip: Use a distinct, descriptive title for each key you register — especially if multiple team members or machines will have their own keys. This makes it much easier to audit and revoke access later.
Step 4: Connect to a Remote Environment
Once your key is registered, you can connect to any environment you have access to, using either the Cloud CLI or a direct SSH command.
Option A: Connect Using the Cloud CLI
From within your local project directory:
bash
magento-cloud ssh -e <environment-ID>You can also target a specific app within a multi-app project:
bash
magento-cloud ssh --project <project-ID> --environment <environment-ID> --app <app-name>Option B: Connect Using a Direct SSH Command
The Cloud Console provides a ready-to-use SSH access command for each environment — go to your project, select the environment, and look for the Access Site or SSH option. It will look something like this:
bash
ssh <project-id>-<environment-id>--<app-name>@ssh.<region>.magento.cloudCopy this exactly as shown in the Console; the project ID, environment ID, and region segment are specific to your project.
Step 5: Handle Multi-Factor Authentication (If Enabled)
If your project has multi-factor authentication (MFA) enforced, SSH access requires an additional short-lived SSH certificate on top of your key pair.
Generate an SSH Certificate
On your local workstation, use the Cloud CLI to generate a certificate after authenticating:
bash
magento-cloud ssh-cert:loadThis certificate is used automatically for subsequent SSH and Git operations during your authenticated session. You can also configure your local environment to generate the certificate automatically on login, so you don’t need to run this manually every time.
Automated Processes and API Tokens
If you have automated processes (CI/CD pipelines, scripts) that need SSH access to a Cloud environment under MFA, they can’t use interactive certificate generation. Instead, generate an API token from an account with Admin or Contributor access, and authenticate using that token as part of your automated SSH workflow.
Step 6: Verify Your Connection
Once connected, confirm you’re in the right place and the environment is responding as expected:
bash
# Check which environment you're connected to
echo $MAGENTO_CLOUD_ENVIRONMENT

# Confirm Magento CLI is accessible inside the environment
php bin/magento --version

# Check recent deployment logs
tail -f /var/log/platform/*/deploy.log
For sFTP-style access (useful for GUI file transfer clients), use the same username/host pair from your SSH access command: everything before the @ is the username, and everything after is the host. sFTP connections also authenticate using your registered SSH key — never your account password.
Troubleshooting Common Access Issues
- “Access denied” when connecting — Confirm your SSH key is actually associated with the environment (or project) you’re trying to reach. A key registered to your account doesn’t automatically grant access to every project; project-level permissions still apply.
- “Permission denied (publickey)” — Usually means the wrong key is being offered, or your SSH agent isn’t loading it. Try specifying the key explicitly:
ssh -i ~/.ssh/id_rsa <ssh-access-string>. - CLI command not found after install — The install path wasn’t added to your shell profile correctly. Re-add
export PATH=$PATH:$HOME/.magento-cloud/binto your profile and reload the shell. - MFA-enforced project rejects a plain SSH key — You’ll also need a valid SSH certificate (Step 5). A key alone isn’t sufficient once MFA enforcement is turned on for the project.
Best Practices
- Never share your private key. Only the public key (
.pubfile) should ever be uploaded, pasted, or shared with anyone — including Adobe Support. - Use a separate key per machine. If a laptop is lost or a contractor’s engagement ends, you can revoke just that one key without touching anyone else’s access.
- Give every registered key a descriptive title. It makes periodic access audits far easier, especially on larger teams.
- Generate SSH certificates proactively on MFA-enforced projects rather than waiting for a failed connection to remind you — certificates are short-lived and need periodic renewal.
- Use the Cloud CLI over raw SSH commands when possible — commands like
magento-cloud ssh -e <environment>handle environment resolution and app targeting automatically, reducing the chance of connecting to the wrong place.
Related Reading
- Related guide: Valkey Cache Configuration in Adobe Commerce Cloud — once you have SSH access, you’ll likely use it to verify Valkey connectivity and deployment configuration directly on the environment.
- Official reference: Adobe’s Secure Connections documentation covers SSH key management, sFTP access, and connecting to individual services in more depth.
Conclusion
Setting up SSH access to Adobe Commerce Cloud comes down to four steps: install the Cloud CLI, generate an SSH key pair, register the public key with your account, and connect using either the CLI or a direct SSH command. If your project enforces MFA, layer in a short-lived SSH certificate on top of your key. Once connected, you have full command-line access to logs, CLI tools, and deployment details — the same access your CI/CD pipeline relies on, just with you at the keyboard instead.