Introduction
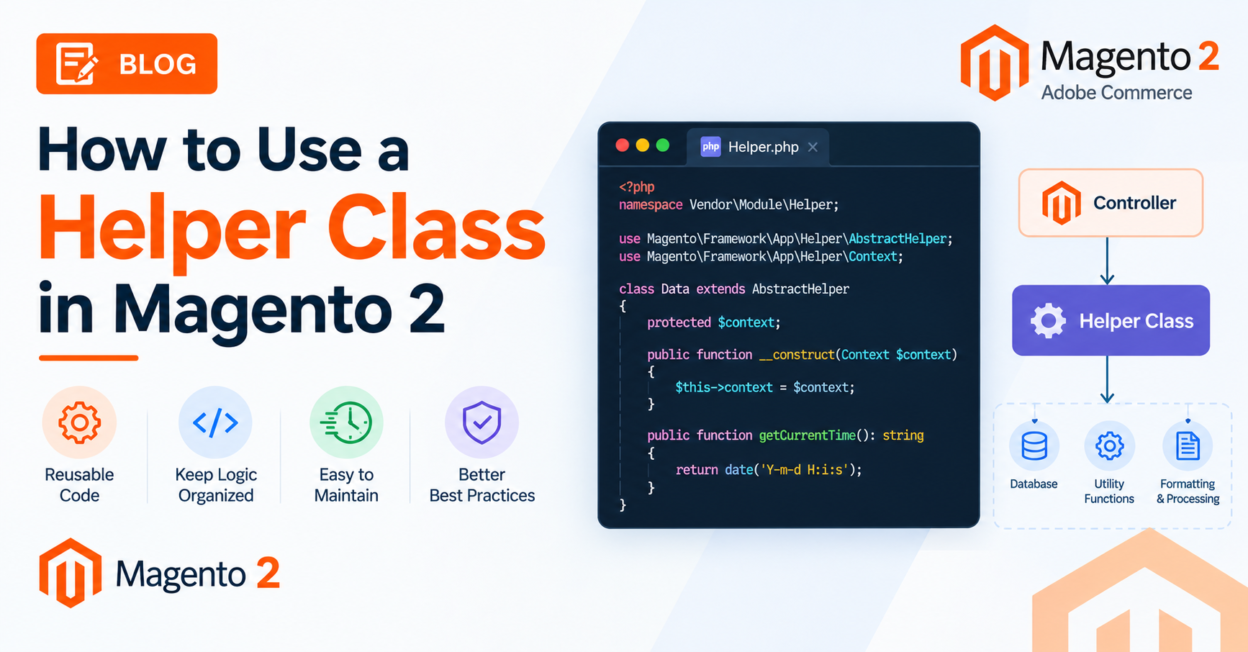
In our previous post, we covered how to create a Helper class in Magento 2 by extending AbstractHelper. Now let’s look at exactly how to use that Helper class — in blocks, templates, controllers, and other classes throughout your module.
For reference, this post assumes you already have the following Helper class in place:
app/code/Vendor/Module/Helper/Data.phpwith methods like isEnabled(), getGreetingMessage(), and formatGreeting().
Option 1: Inject the Helper into a Block
The most common and recommended way to use a Helper is to inject it directly into a Block’s constructor via dependency injection:
<?php

namespace Vendor\Module\Block;

use Magento\Framework\View\Element\Template;
use Magento\Framework\View\Element\Template\Context;
use Vendor\Module\Helper\Data as VendorHelper;

class Greeting extends Template
{
    protected VendorHelper $vendorHelper;

    public function __construct(
        Context $context,
        VendorHelper $vendorHelper,
        array $data = []
    ) {
        $this->vendorHelper = $vendorHelper;
        parent::__construct($context, $data);
    }

    public function isModuleEnabled(): bool
    {
        return $this->vendorHelper->isEnabled();
    }

    public function getGreetingMessage(): string
    {
        return $this->vendorHelper->getGreetingMessage();
    }
}
Magento’s Object Manager automatically resolves and injects VendorHelper when the block is instantiated — no extra configuration needed.
Option 2: Use the Helper Directly in a .phtml Template
Once your block exposes the helper’s logic through its own methods, your template simply calls the block:
<?php if ($block->isModuleEnabled()): ?>
    <div class="vendor-greeting">
        <?= $block->escapeHtml($block->getGreetingMessage()) ?>
    </div>
<?php endif; ?>
Alternatively, Magento also lets you call a helper directly from a template using the global helper syntax:
<?php $helper = $this->helper(\Vendor\Module\Helper\Data::class); ?>
<?php if ($helper->isEnabled()): ?>
    <p><?= $block->escapeHtml($helper->getGreetingMessage()) ?></p>
<?php endif; ?>
Best practice: Prefer injecting the helper into the Block’s constructor (Option 1) rather than calling
$this->helper()inside the template. It keeps your logic testable and out of the presentation layer, and avoids resolving dependencies inside a.phtmlfile.
Option 3: Inject the Helper into a Controller
Helpers are just as easy to use inside a controller — inject them the same way as any other dependency:
<?php

namespace Vendor\Module\Controller\Index;

use Magento\Framework\App\Action\Context;
use Magento\Framework\App\Action\HttpGetActionInterface;
use Magento\Framework\Controller\Result\JsonFactory;
use Vendor\Module\Helper\Data as VendorHelper;

class Index implements HttpGetActionInterface
{
    protected Context $context;
    protected JsonFactory $resultJsonFactory;
    protected VendorHelper $vendorHelper;

    public function __construct(
        Context $context,
        JsonFactory $resultJsonFactory,
        VendorHelper $vendorHelper
    ) {
        $this->context = $context;
        $this->resultJsonFactory = $resultJsonFactory;
        $this->vendorHelper = $vendorHelper;
    }

    public function execute()
    {
        $result = $this->resultJsonFactory->create();

        return $result->setData([
            'enabled' => $this->vendorHelper->isEnabled(),
            'message' => $this->vendorHelper->getGreetingMessage(),
        ]);
    }
}
This is a common pattern for AJAX endpoints or custom frontend controllers that need to check configuration or reuse shared logic.
Option 4: Inject the Helper into a Model or Another Class
Helper classes can be injected into any class the same way — through standard constructor dependency injection. This makes it easy to reuse the same logic across models, services, plugins, or observers:
<?php

namespace Vendor\Module\Model;

use Vendor\Module\Helper\Data as VendorHelper;

class SomeService
{
    protected VendorHelper $vendorHelper;

    public function __construct(
        VendorHelper $vendorHelper
    ) {
        $this->vendorHelper = $vendorHelper;
    }

    public function process(): string
    {
        if (!$this->vendorHelper->isEnabled()) {
            return 'Feature disabled.';
        }

        return $this->vendorHelper->formatGreeting(
            $this->vendorHelper->getGreetingMessage()
        );
    }
}
Best Practices When Using Helper Classes
- Always inject helpers through the constructor, rather than instantiating them manually or resolving them via the Object Manager directly (
ObjectManager::getInstance()is considered an anti-pattern in Magento 2). - Avoid calling
$this->helper()inside templates when possible — inject the helper into the block instead, and expose only the specific methods the template needs. - Don’t overload a single helper with unrelated responsibilities just because it’s convenient to inject — if a class needs logic from multiple domains, inject multiple, focused helpers instead.
- Type-hint the helper class in every constructor where it’s used, so Magento’s DI and IDE tooling can properly resolve and autocomplete it.
Conclusion
Using a Helper class in Magento 2 comes down to one consistent pattern: inject it through the constructor of whatever class needs it — Block, Controller, Model, or otherwise — and call its methods. Because Magento’s Object Manager handles instantiation automatically, there’s no extra di.xml configuration required for standard use. Keeping helpers focused and always accessing them through proper dependency injection will keep your module clean, testable, and easy to maintain.