Introduction
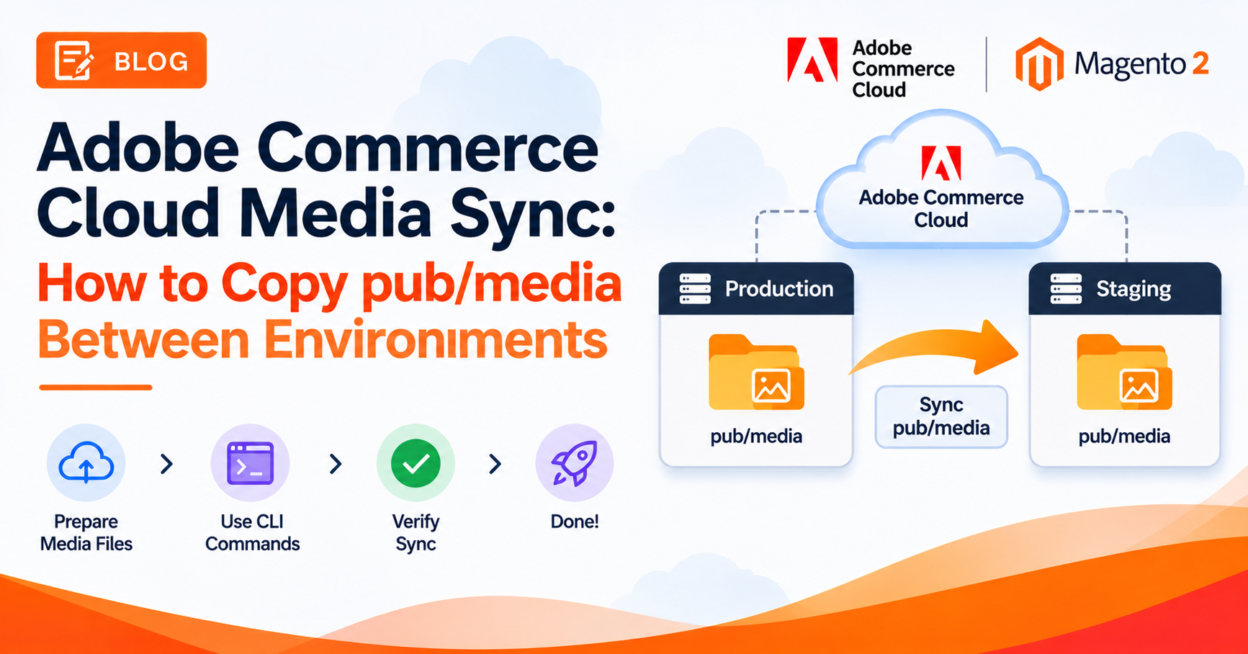
You’ve copied the production database to Staging, opened the storefront, and every product image is broken. That’s because product images and other media live on disk, not in the database, so they don’t come along with a database import. This guide covers Adobe Commerce Cloud media sync: how to copy pub/media between Production, Staging, Integration, and your local machine, which tool to use in each case, and how to avoid the mistakes that cost the most time.
Applies to: Adobe Commerce on Cloud infrastructure (PaaS) projects that store media on the
pub/mediamount. If your project uses remote storage (for example AWS S3) for media, your files live in the bucket rather than on the mount, so this approach doesn’t apply. Check Adobe’s remote storage documentation for that setup.
Why Media Doesn’t Sync Automatically
On Cloud, pub/media is a mount: a writable area of disk that persists between deployments and is shared by your application inside an environment. Code moves between environments through Git and deployments, and the database moves through dumps and imports. Mounts hold files that belong to neither, so you copy them yourself.
One consequence to keep in mind: the database stores references to your images, while the files sit on disk. If the two get out of step, you’ll see either broken images (references with no files) or orphaned files (files with no references). Whenever you migrate a database between environments, plan to migrate the matching media too.
Choose Your Method
Adobe documents two ways to migrate files between mounts, and both use rsync underneath. Adobe’s guidance on which to use is straightforward:
| Scenario | Recommended method |
|---|---|
| Local machine to Cloud, or Cloud to local | magento-cloud mount:upload and mount:download |
| One Cloud environment directly to another (for example Production to Staging) | rsync run from the source environment |
Only one subfolder, such as catalog/product | rsync (it lets you set the exact source and destination path) |
A third option, magento-cloud environment:synchronize, copies all data from a parent environment to a child, including databases, not just media. Use it only when that’s what you want.
Prerequisites
- SSH access to the environments involved. If you haven’t set that up, follow our Adobe Commerce Cloud SSH access guide. On MFA-enforced projects, you’ll also need a valid SSH certificate.
- The Magento Cloud CLI installed locally (
magento-cloud). - SSH agent forwarding enabled, if you plan to copy directly between two remote environments.
- Enough free disk space on the destination. Changing mounts or disk configuration on Pro Staging and Production requires an Adobe Commerce Support ticket, so check capacity before a large copy.
Step 1: Identify Your Project, Environments, and SSH Links
magento-cloud login
magento-cloud project:list
magento-cloud environment:list -p <project-ID>
To get an environment’s SSH link, print it with the CLI:
magento-cloud ssh -p <project-ID> -e <environment-ID> --pipeThe --pipe option prints the SSH URL instead of opening a session. It looks like <ssh-user>@ssh.<region>.magento.cloud. You can also find the same link in the Cloud Console by selecting the environment and clicking Access Site.
Step 2: Check Size and Take a Backup
Before copying, look at what you’re about to move. SSH into the source and destination environments and check disk usage:
du -sh pub/media/*
df -h
Adobe recommends creating a backup of an environment before deployments and major changes. If you’re about to write into an environment you care about, snapshot it first:
magento-cloud snapshot:create -e <environment-ID>Step 3A: Local to Cloud or Cloud to Local with the CLI
For moving files between your machine and a Cloud environment, Adobe recommends the CLI’s mount commands. They wrap rsync with prompts and options tailored to Cloud.
Download a remote mount to your local project:
magento-cloud mount:download -p <project-ID> -e <environment-ID>With no other options, the CLI lists the available mounts (such as app/etc, pub/static, var, and pub/media) and asks you to pick one, then asks you to confirm.
Upload your local media to a remote environment:
magento-cloud mount:upload \
  --source /path/to/project/pub/media/ \
  --mount pub/media/ \
  -p <project-ID> -e <environment-ID>
Both commands support --exclude and --include filters, and a --delete option that removes extraneous files at the destination. Run --help on either command to see everything available. Treat --delete with care (see Step 4).
Step 3B: Cloud to Cloud Directly with rsync
To copy from one remote environment to another, for example Production to Staging, Adobe recommends running rsync directly between the two. It’s faster because the files never pass through your laptop.
1. Load your key into the SSH agent so it can be forwarded:
ssh-add ~/.ssh/id_rsa
ssh-add -l   # confirm the key is loaded
2. Log in to the source environment with plain ssh -A. Adobe specifically says not to use the magento-cloud CLI for this step, and the -A option matters because it forwards your authentication agent:
ssh -A <source-ssh-link>@ssh.<region>.magento.cloud3. From inside the source environment, push to the destination:
rsync -azvP pub/media/ <destination-ssh-link>@ssh.<region>.magento.cloud:pub/media/The flags mean: a archive (preserves structure and timestamps), z compress during transfer, v verbose output, and P show progress and keep partial files, so an interrupted transfer can resume.
4. Log in to the destination and verify (see Step 5).
Syncing only part of the media library
You rarely need all of pub/media. To copy only product images:
rsync -azvP pub/media/catalog/product/ \
  <destination-ssh-link>@ssh.<region>.magento.cloud:pub/media/catalog/product/
The same pattern works for other folders, such as pub/media/wysiwyg/ for CMS content images.
Trailing slashes matter.
pub/media/means “the contents of this folder.”pub/media(no slash) means “this folder itself,” which can create a nestedpub/media/mediaat the destination. Keep the trailing slash on both the source and destination paths.
Step 4: Dry-Run, Exclude What You Don’t Need, and Be Careful with Delete
Do a dry run first. Adding --dry-run makes rsync list what it would transfer without copying anything:
rsync -azvP --dry-run pub/media/ <destination-ssh-link>@ssh.<region>.magento.cloud:pub/media/Skip generated image caches. Resized product images are stored under catalog/product/cache. They can be large and Magento can regenerate them when they’re requested, so excluding them usually speeds up the transfer a lot:
rsync -azvP --exclude='catalog/product/cache/' \
  pub/media/ <destination-ssh-link>@ssh.<region>.magento.cloud:pub/media/
If you want the resized images generated ahead of time on the destination, you can run bin/magento catalog:images:resize there afterward. (If you use Fastly Image Optimization with deep image optimization, the resizing is done at the edge instead.)
Be deliberate about --delete. Both rsync --delete and the CLI’s --delete remove files at the destination that don’t exist at the source. That’s what you want for an exact mirror, and a disaster if you pointed at the wrong environment. Run it as a dry run first, every time.
Sync only what you need. pub/media can hold more than product images, including customer-related uploads. Copying only the folders your task requires also reduces the chance of moving data into a lower environment that shouldn’t be there.
Step 5: Verify the Result
SSH into the destination environment and check:
ls -la pub/media/catalog/product | head
du -sh pub/media/catalog/product
For a stronger check, compare file counts at source and destination:
find pub/media/catalog/product -type f | wc -lIf the numbers differ by roughly the size of the cache folder you excluded, that’s expected. Then open a few product pages in the destination storefront and confirm the images load.
Step 6: After the Sync, Think About Caching
Copying files doesn’t change Magento’s cache entries, so a cache flush usually isn’t required just to make new files available. The exception is a page that has already been cached with a missing-image result. If a product page still shows a broken image even though the file exists on disk:
- Purge the affected URL on Fastly with Quick Purge under
System > Tools > Cache Management, or use Purge All on a lower environment where that’s acceptable. - Hard-refresh or clear your browser cache before concluding the file is missing.
Troubleshooting
| Problem | Likely cause | What to do |
|---|---|---|
Permission denied (publickey) during rsync | Agent forwarding isn’t active, or your key isn’t loaded | Run ssh-add, confirm with ssh-add -l, and log in with ssh -A. On MFA-enforced projects, make sure your SSH certificate is valid. |
Files land in pub/media/media | Missing trailing slash | Re-run with trailing slashes on both paths and clean up the nested folder. |
| Transfer is very slow | Syncing the whole library, including image caches | Exclude catalog/product/cache/, copy specific subfolders, and run during off-peak hours. |
| Transfer fails partway | Dropped connection or full disk | Re-run the same command (rsync skips files already copied, and -P keeps partials). Check df -h on the destination. |
| Images still missing after sync | Database references and files out of step, or wrong folder | Confirm the files exist at the paths the storefront expects. Migrate media and database together. |
| Files exist but the page shows a broken image | Cached page on Fastly or in the browser | Quick Purge the URL, then refresh. |
Best Practices
- Pull data down, not up. Adobe’s guidance for database migration is to move Production data into Staging for testing, and not to push Integration data up to Staging or Production. Treat media the same way.
- Snapshot before writing to any environment you can’t afford to break.
- Dry-run every first attempt, especially with
--delete. - Use the right tool for the job: CLI mount commands for local to cloud,
rsyncwith agent forwarding for cloud to cloud. - Exclude regenerable files like resized image caches.
- Keep database and media in step, and re-sync media whenever you refresh a lower environment’s database from Production.
Related Reading
- Related guide: Adobe Commerce Cloud SSH Access: Step-by-Step Setup covers the SSH keys, certificates, and agent setup that every method in this post depends on.
- Official reference: Adobe’s Deploy to Staging and Production documentation covers migrating static files and databases between Cloud environments.
Conclusion
Media sync on Adobe Commerce Cloud comes down to picking the right tool and keeping the data consistent. Use mount:download and mount:upload to move files between your machine and Cloud, use rsync over ssh -A to copy directly between environments, and always dry-run, exclude the regenerable caches, and verify the result. Do that, and your Staging environment will finally look like Production, images included.